First time roasting a whole turkey? We’re here to help.
The turkey is the star of Thanksgiving dinner, but for first time hosts it can be a little intimidating to tackle an entire bird. Fear not turkey newbies- roasting a delicious turkey dinner isn’t as difficult as you’d think! To give you a hand, we’ve put together our top 5 tips and tricks for how to roast the perfect Thanksgiving turkey.
1. Buying a Bird
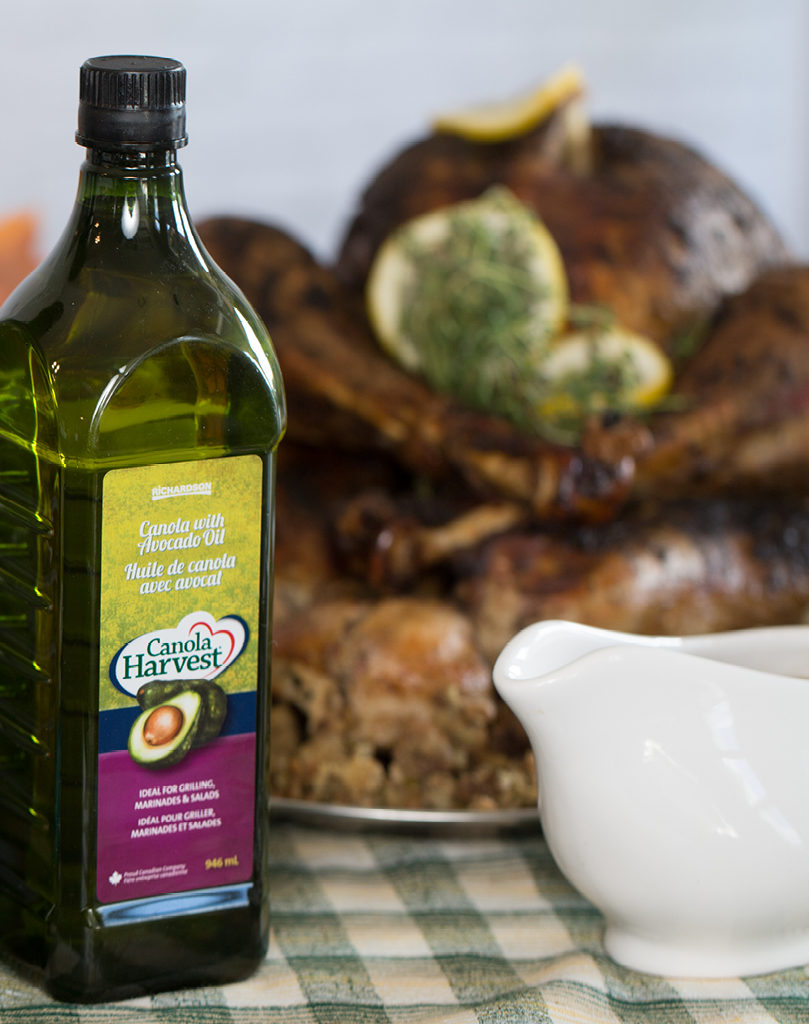
You may notice at the grocery store that there are a few options available. Is Grade A really better than Utility Grade? Not necessarily. Turkeys are graded by quality of appearance, not by quality of taste. Utility grade turkeys may have parts missing, such as a wing, or minor skin tears. Grade A turkeys are well-formed, such as the one pictured above, and are very meaty with even fat covering. Regardless of which grade you go with, all turkeys processed in a federally inspected plant will be stamped with “Canada Approved” or a “Canada” health inspection stamp. Go with what your budget allows.
Next, you’ll want to select the right sized turkey for your gathering. Calculate about 1 lb per guest, or 1.5 lbs per person if you want leftovers. Keep in mind that you may not be able to fit a very large turkey in your roasting pan or refrigerator, so consider measuring those before heading off to the store. Roasting two small birds may be a better option if space is an issue.
Hosting only a few friends? Consider buying a bone-in turkey breast instead of a whole bird. Turkey breasts are easier to prepare and don’t require as much attention. If the thought of not serving dark meat to your guests makes you nervous, you can always buy a small pack of turkey drumsticks to roast alongside the breasts.
2. Set the Mood aka the Temperature
When it comes to cooking a turkey, slow, low, and steady wins the race. Preheat your oven to 350°F (177°C). Some cooks like to begin cooking on high before lowing the heat to save time, but baking your bird at a low and steady temperature is easier to manage while to preparing your side dishes and getting ready before your guests arrive. Refer to the cooking times at the end of our post to plan your time wisely!
3. Stuff & Truss (or Skip!)
Stuffing your turkey, or baking the stuffing on the side in a separate dish, is a matter of personal preference. Keep in mind that if you decide to stuff your turkey before baking, it will take longer to roast and may cause the meat to cook unevenly. Adjust the roasting times and be sure to check with a meat thermometer. Be mindful to not over-stuff the turkey as well, since the stuffing will expand during baking.
Trussing is another one of those personal preference things when it comes to cooking a turkey. Trussing allows for a compact shape that fits nicely in a roasting pan- perfect if you’re looking to get some #foodie pics up on your Instagram feed. Some cooks swear that trussing the bird’s legs closed allows air to circulate better in the oven, preventing the breast meat from overcooking and becoming too dry. However, if you’re going to give trussing a try, make sure to tie the kitchen twine loosely. Tying the legs up too tight will increase your roasting times, putting the breast meat at risk of drying out. If this extra step intimidates you, feel free to skip trussing altogether.
4. Prepping the Skin
Pour your favourite Canola Harvest Canola Oil or Canola Oil Blend into a small dish. Using a silicone basting brush, slather the oil onto the entire bird. Rubbing oil onto your turkey will help brown the skin evenly. Finish off by sprinkling with a generous amount of kosher salt which will assist in crisping the skin.
5. Roast It & Boast It
You’ll want to place your bird, breast-side up in a shallow roasting pan. Refer to our helpful chart when roasting your turkey, but keep in mind that these times are approximate. The actual time needed to cook your turkey depend on its temperature before roasting, the accuracy of your oven’s thermostat, how much hot air escapes when opening the oven door to check on your dinner, and the size and type of your roasting pan.
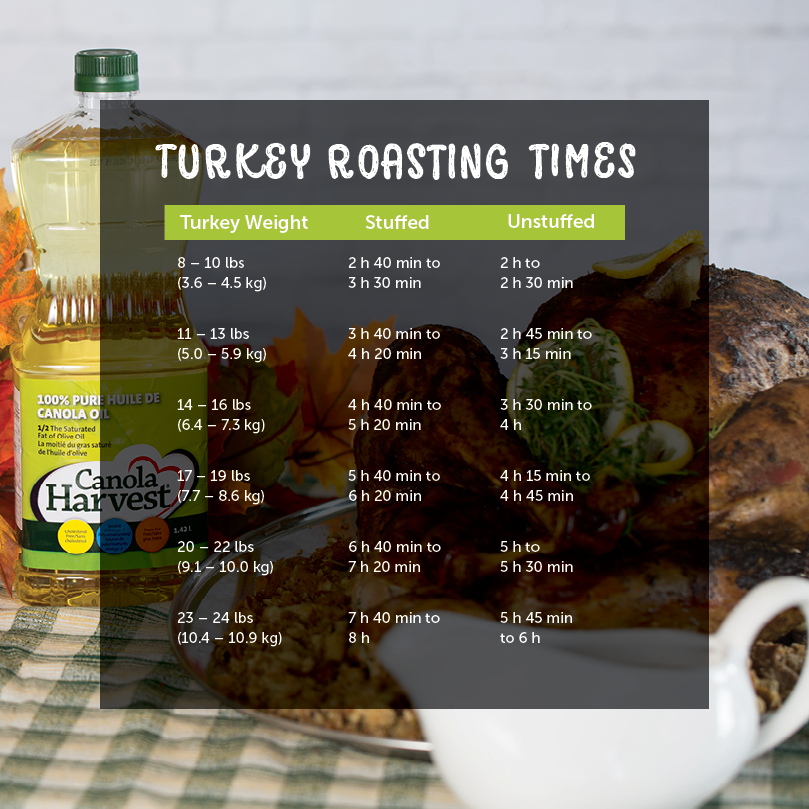
REMEMBER: Cooking times are approximate at 350°F (177°C). Always use a meat thermometer to ensure food safety.
Your best bet for ensuring proper doneness of the meat is to use a meat thermometer. Be sure to insert the thermometer in the thickest part of the turkey’s inner thigh, carefully avoiding any bones. Do not remove your roasting pan from the oven until the thigh’s temperature reaches 170°F (77°C) for an unstuffed turkey, or 180°F (82°C) for a stuffed turkey. If you’ve gone down the road of stuffing your turkey, use the meat thermometer to check that the stuffing reaches a minimum of 165°F (74°C). Once these temperatures are reached, check that the juices of the meat run clear.
Next, carefully remove your turkey from the oven and set the roasting pan on a cooling rack. Stand back and admire your beautifully roasted turkey for 20 minutes. Not only will this give you an opportunity to take those perfect Instagram-worthy shots, but it will also allow the juices in the meat to set.
